Using Aevocam with Home Assistant
Introduction
Home Assistant is an open-source smart home platform that lets you bring cameras, sensors, lights, and other devices into one place you control. If you already use Home Assistant for your cameras, Aevocam’s integration lets you take snapshots from those cameras and upload them straight to your Aevocam feeds—so you can keep using the cameras you’ve already set up without adding a separate capture path.
This article gives a short, focused walkthrough to get the Aevocam plug‑in installed and connected. If you want more detailed installation steps (HACS or manual), follow one of the two full guides linked below.
Install the Aevocam plug‑in
You will need to install the Aevocam Home Assistant plug‑in using one of these two options:
Both paths are regarded as "buyer beware" since such apps are not vetted in any official way. HACS is good for DIYers who already have a GitHub account and are comfortable getting their hands dirty. The manual installation route instead requires you to run a single command in the HA device's terminal.
Add a feed
When you add the Aevocam integration, Home Assistant walks you through connecting one feed to one camera. This assumes you have already created a feed in Aevocam first.
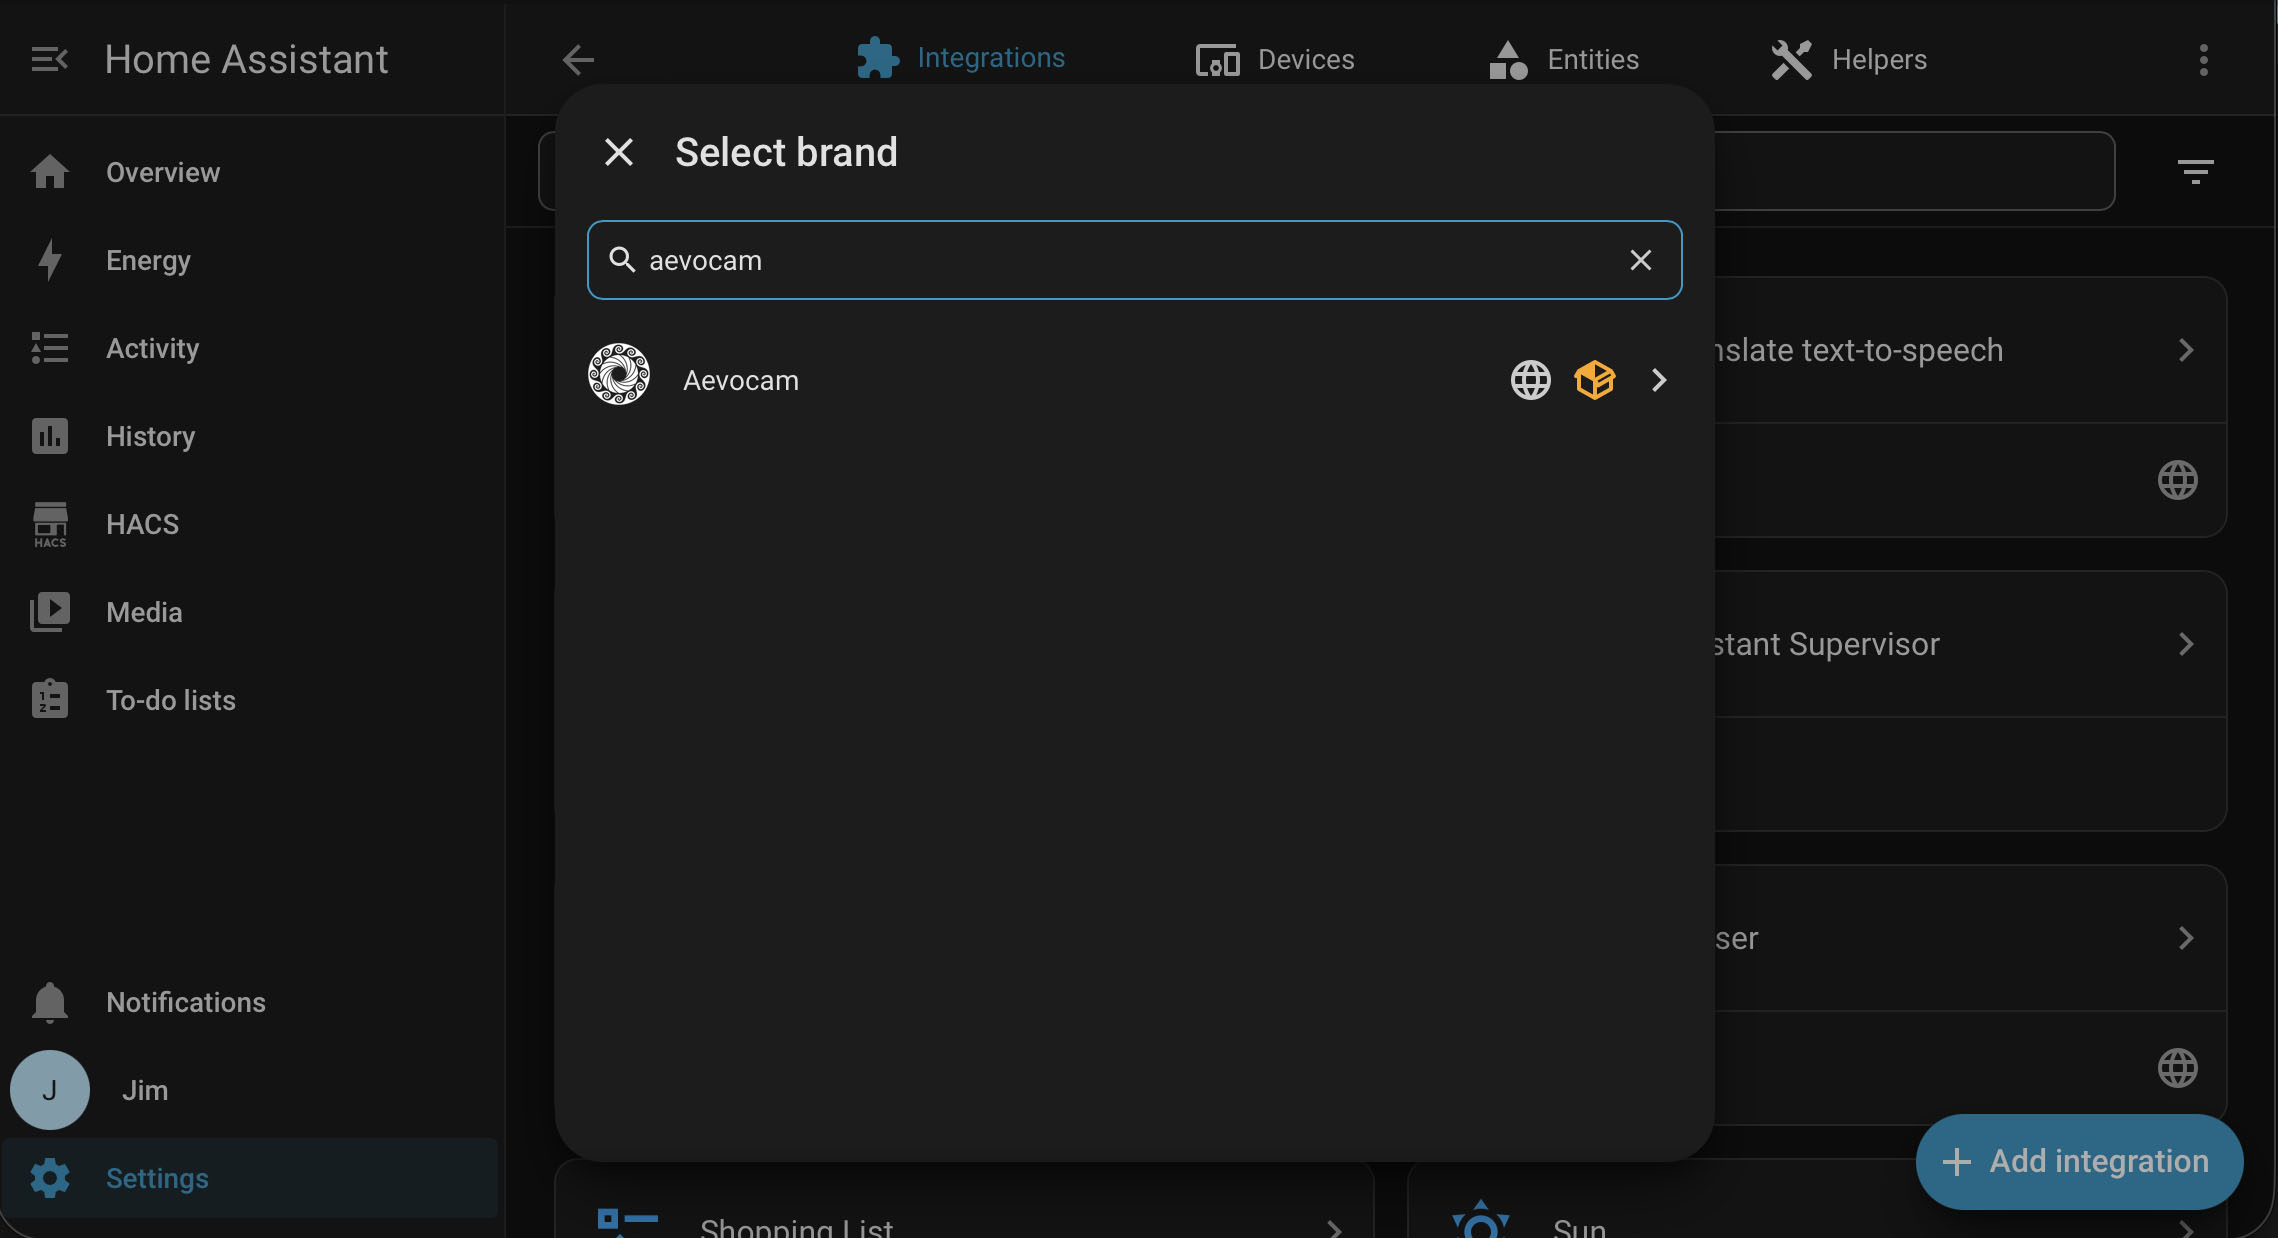
In Home Assistant, go to Settings → Devices & services → Add integration, then search for Aevocam and select it.
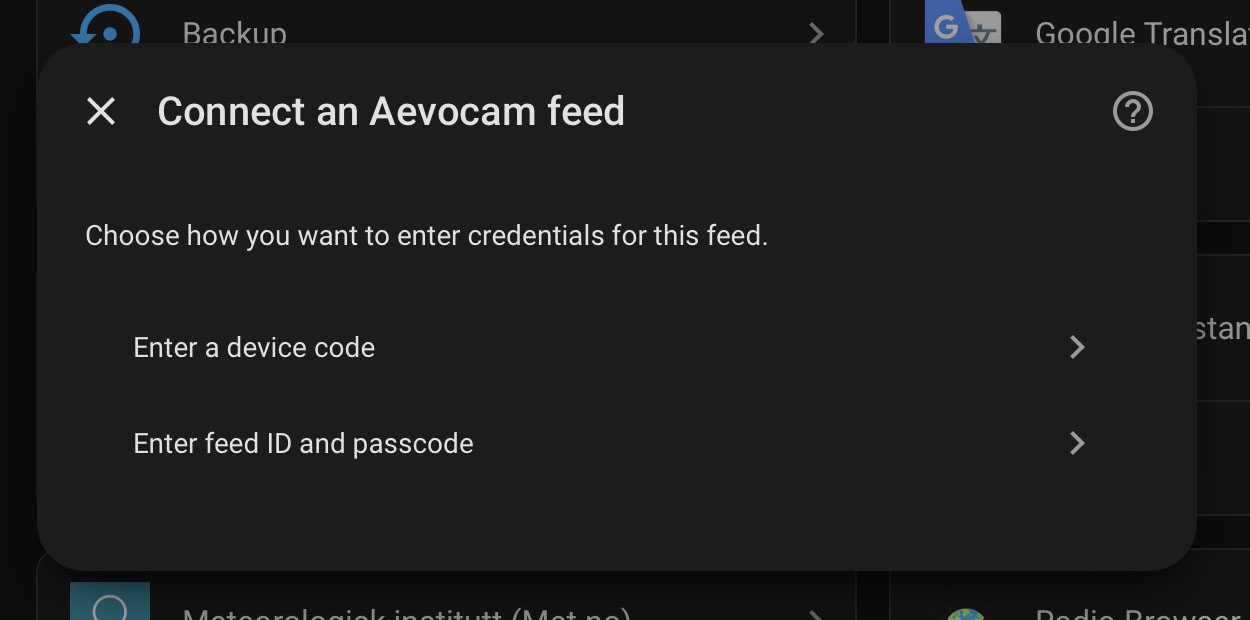
In the "Connect an Aevocam feed" dialog, choose the Device code option.
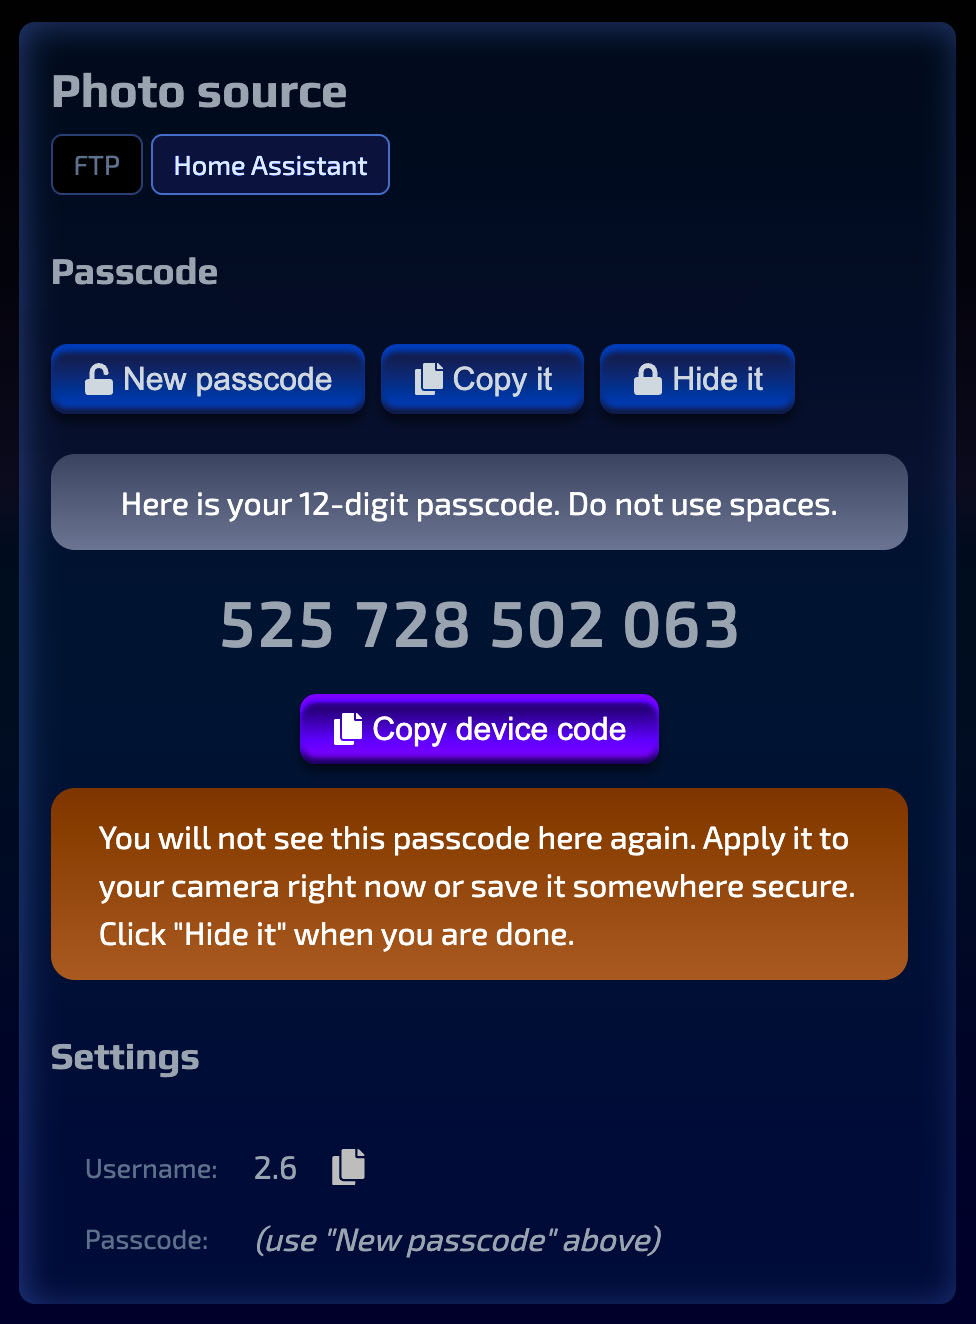
In Aevocam’s feed editor , copy the Device code for that feed from the Photo source section.
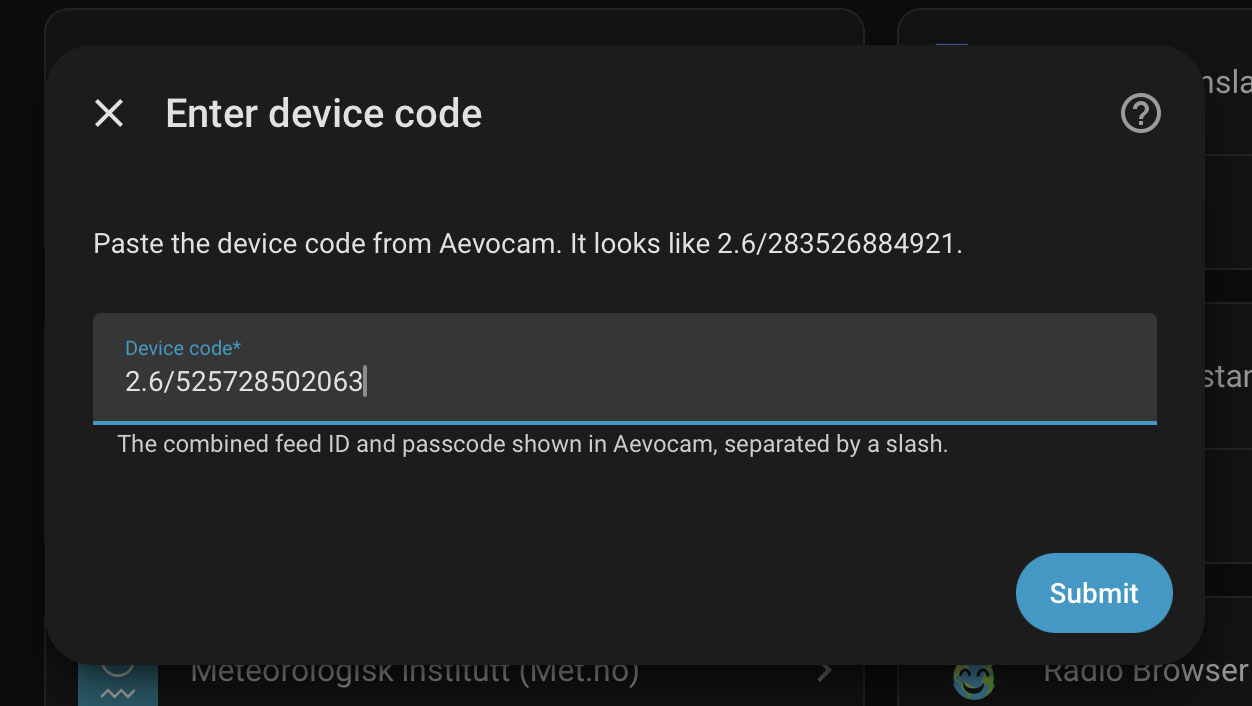
Back in Home Assistant, paste the device code and continue.
Select the Home Assistant camera that should supply snapshots for this feed.
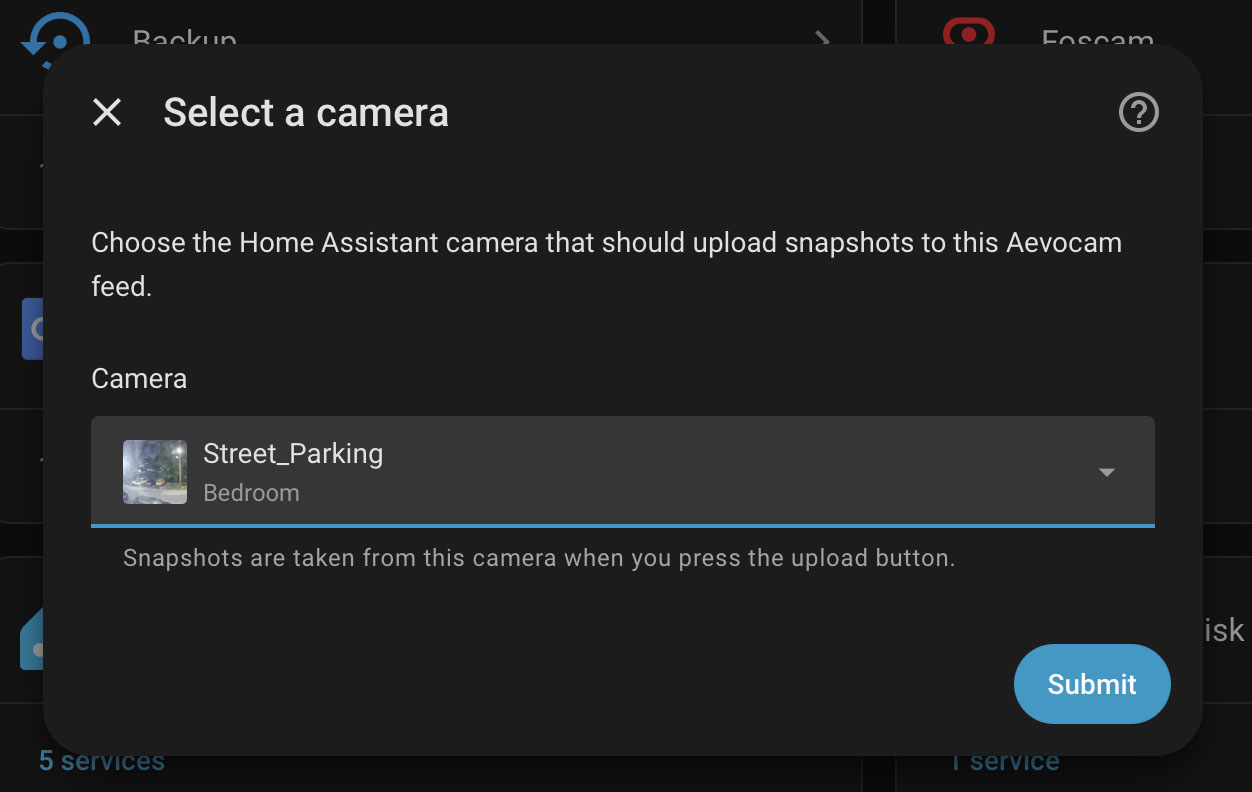
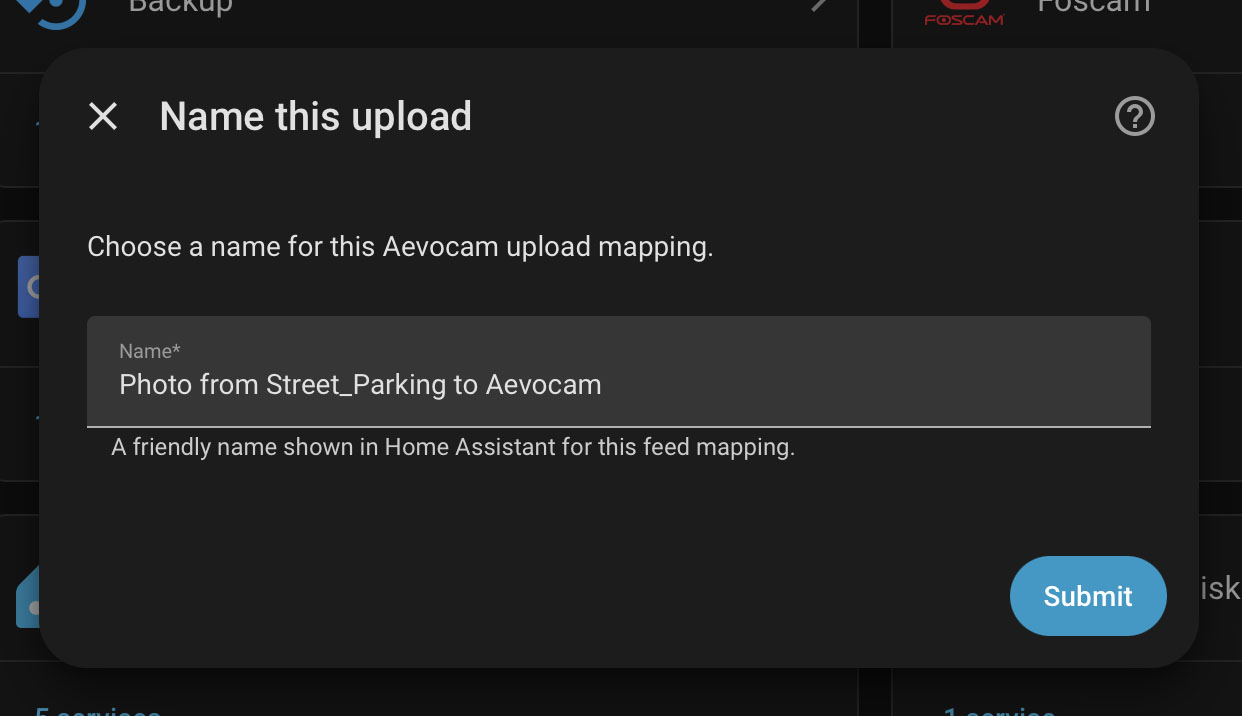
Name the upload.
Name the device and assign it to an area (optional).
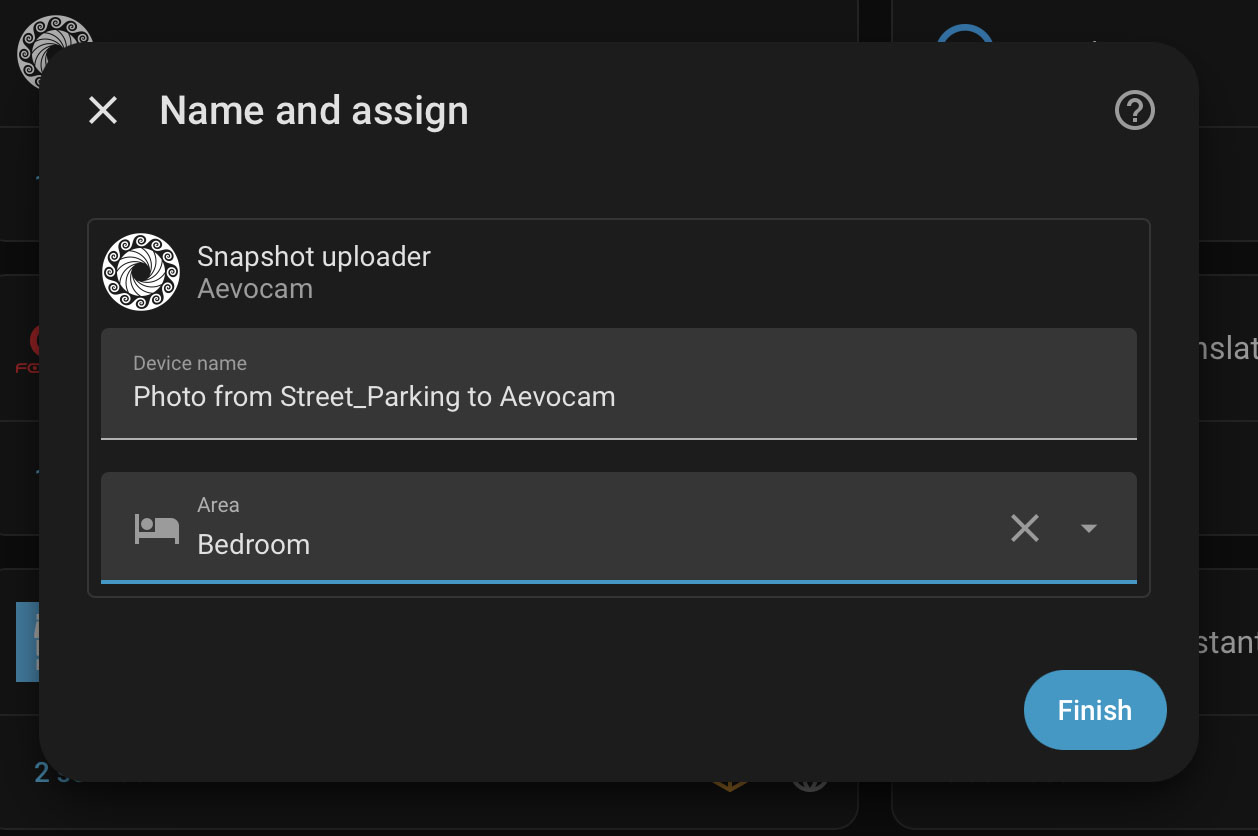
Done: Home Assistant creates a device for this connection, including a button entity labeled Upload snapshot. You can press that button from the UI or trigger it from an automation to capture a frame from the selected camera and upload it to your Aevocam feed. (This button comes from the integration’s Button platform and appears as a "Press" action in automations.)
Create an automation
Automate periodic uploads (or tie them to motion, doorbell, etc.). Here’s a simple time‑based example that presses the Aevocam Upload snapshot button on a schedule.
Go to Settings → Automations & scenes → Create automation → Start with an empty automation.
Add a Trigger using Time pattern (for example, every 15 minutes).
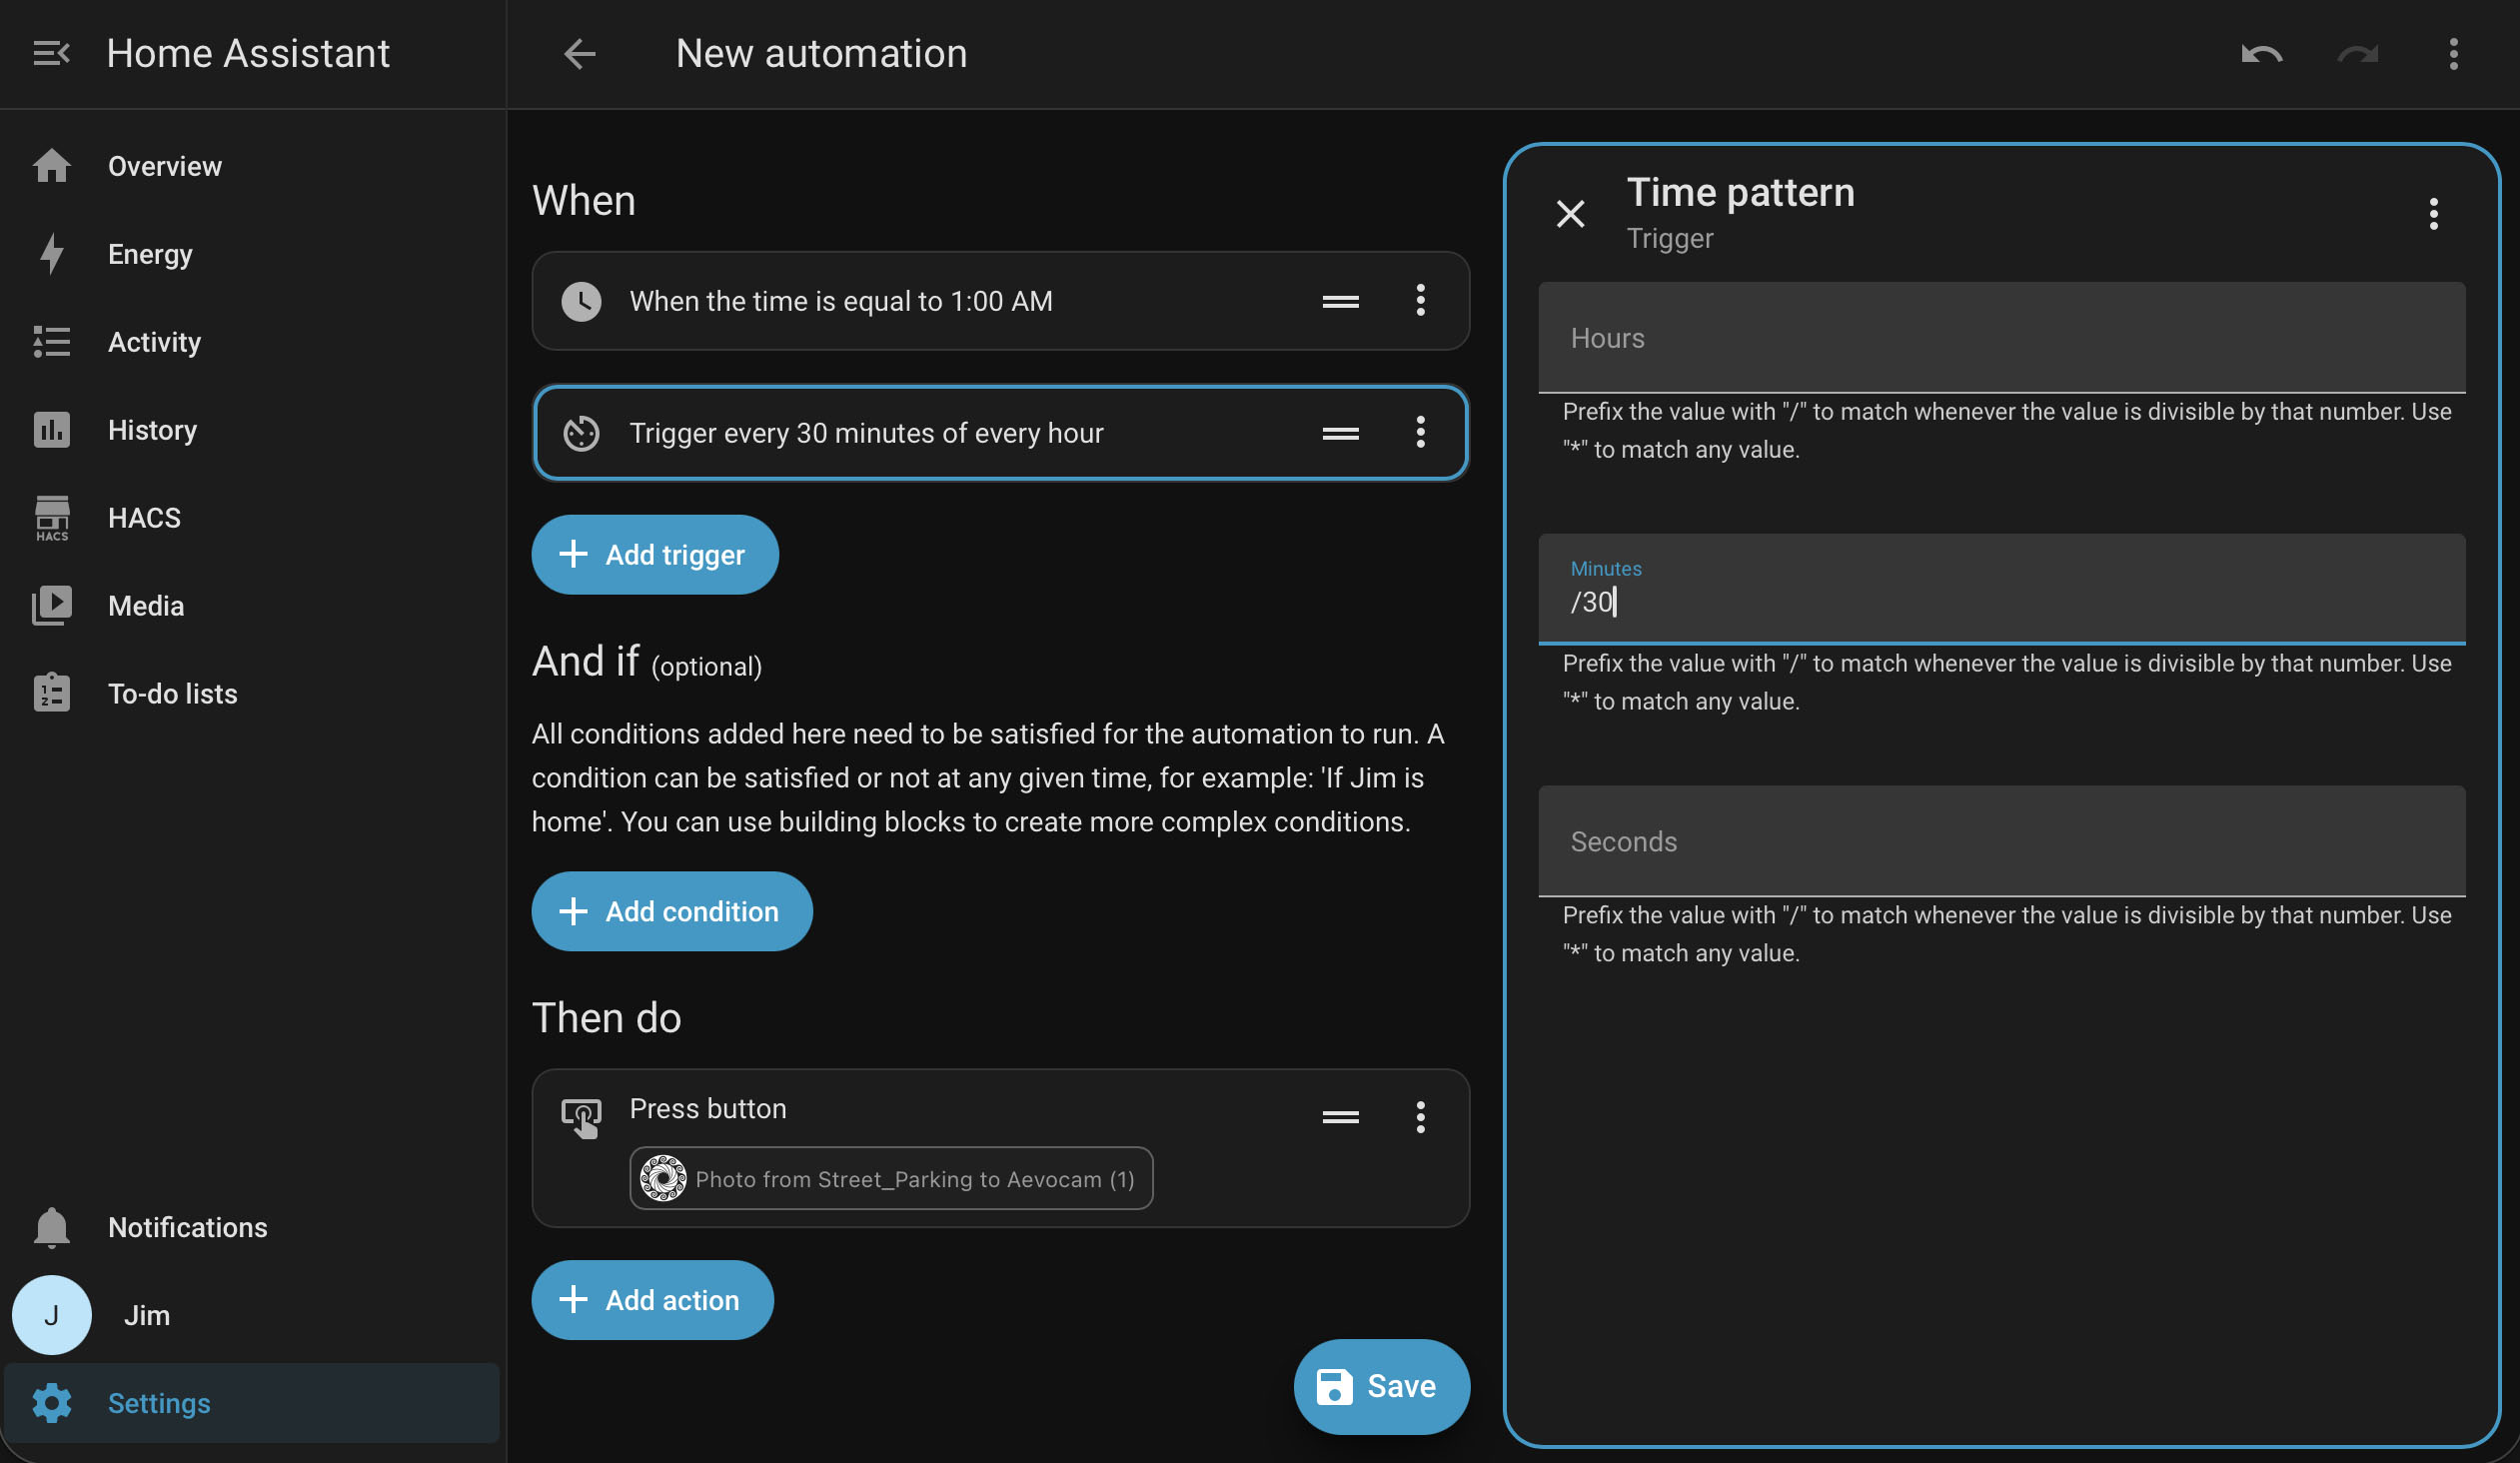
Optionally set start/end times.
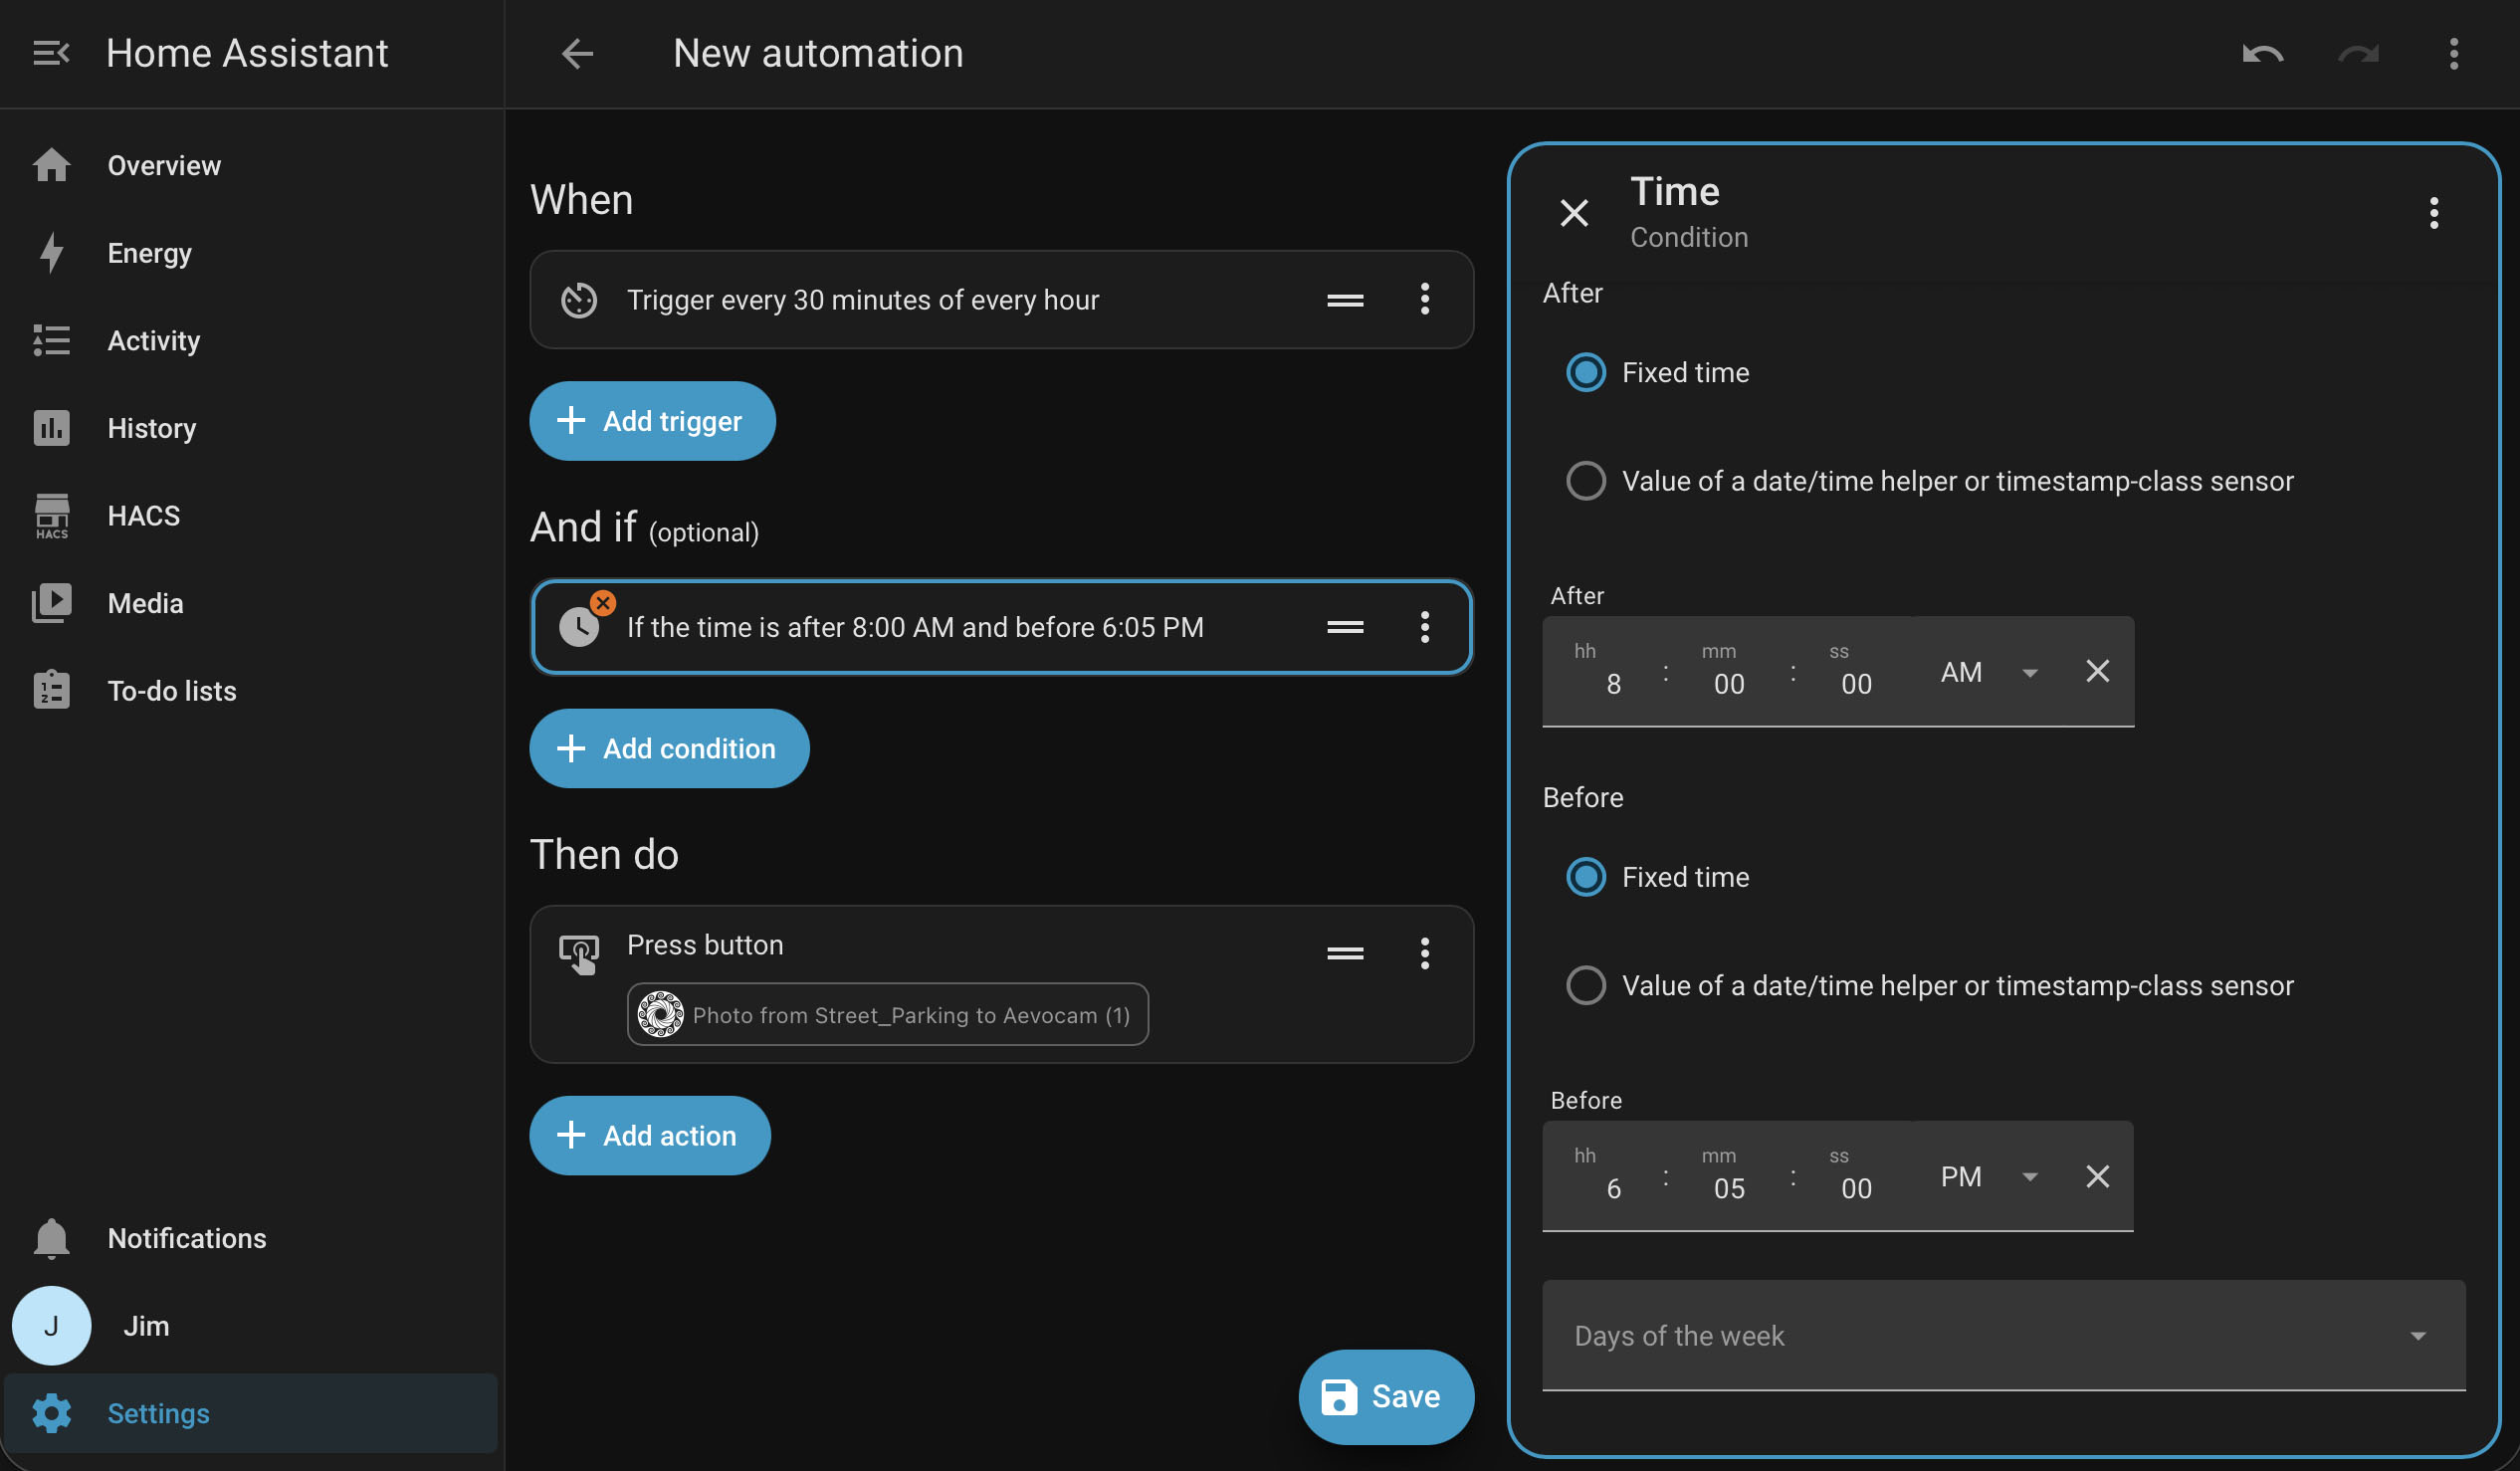
Add an Action to press the Aevocam upload button:
- Device action: Device → [Your Aevocam feed device] → Press "Upload snapshot"
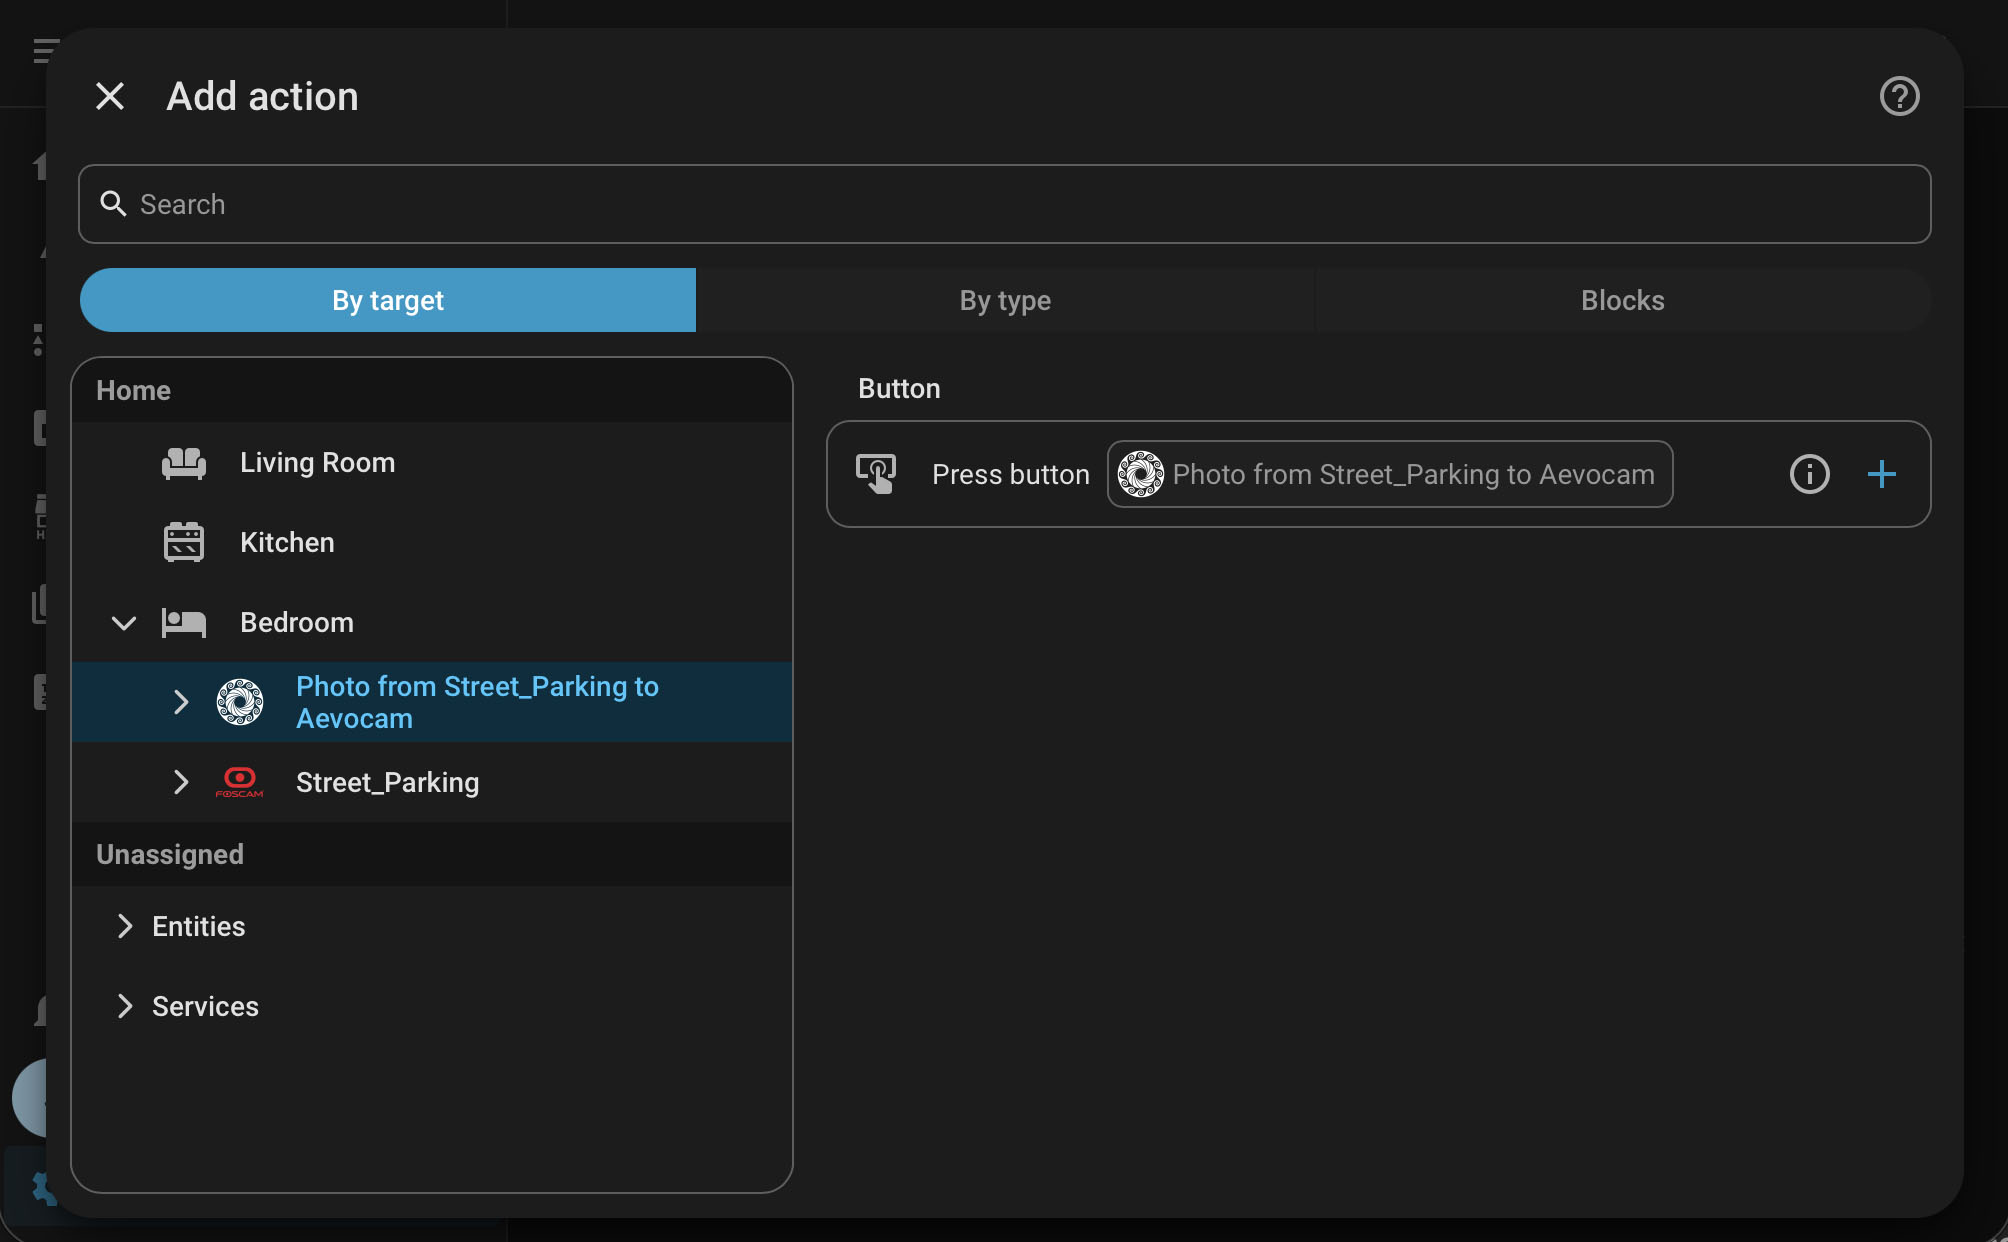
Or, if you prefer a service action: Call service →
button.press→ Target = the Aevocam "Upload snapshot" button entity.
That’s it. Your automation will now capture a snapshot from the selected camera and upload it to the linked Aevocam feed on the schedule you defined.
Need help?
If you want a hand getting this set up—or you’d like to share how you’re using Home Assistant with Aevocam—join our Discord community: https://discord.gg/pHmf9buZ .