Aevocam User & Tenant Management
Signing Up, Creating a Tenant, Inviting Members, Defining Roles
- Joining as a New Aevocam User
- Aevocam User Management Page
- Aevocam Membership Invitations Page
- Aevocam Tenant Settings Page
Joining as a New Aevocam User
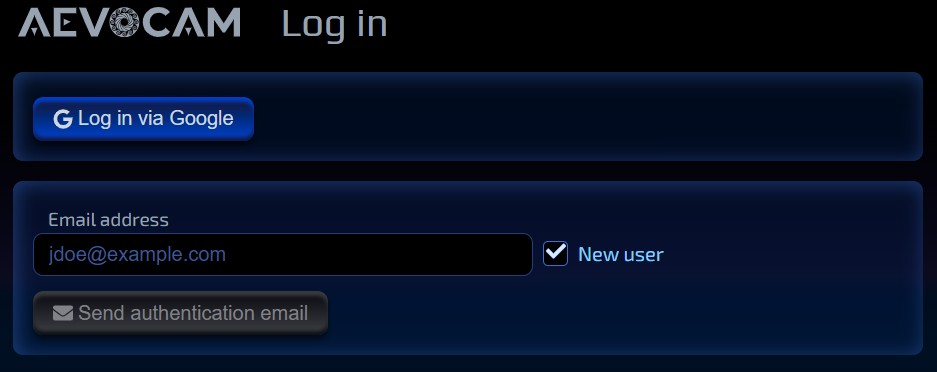
Joining as a new Aevocam user is easy! Enter app.aevocom.com in the location field of your browser and enter your email address (remember to click the New User checkbox). Click on send authentication email button below your email address. You'll receive that email in a few seconds.
After you have been authenticated, you can either log in with the email address that you signed up with, or with your Google email address. For security reasons, you'll be sent an authentication email after every 24 hours of inactivity.
Aevocam User Management Page
This is what you (as a user), will see on your Aevocam User Management page.
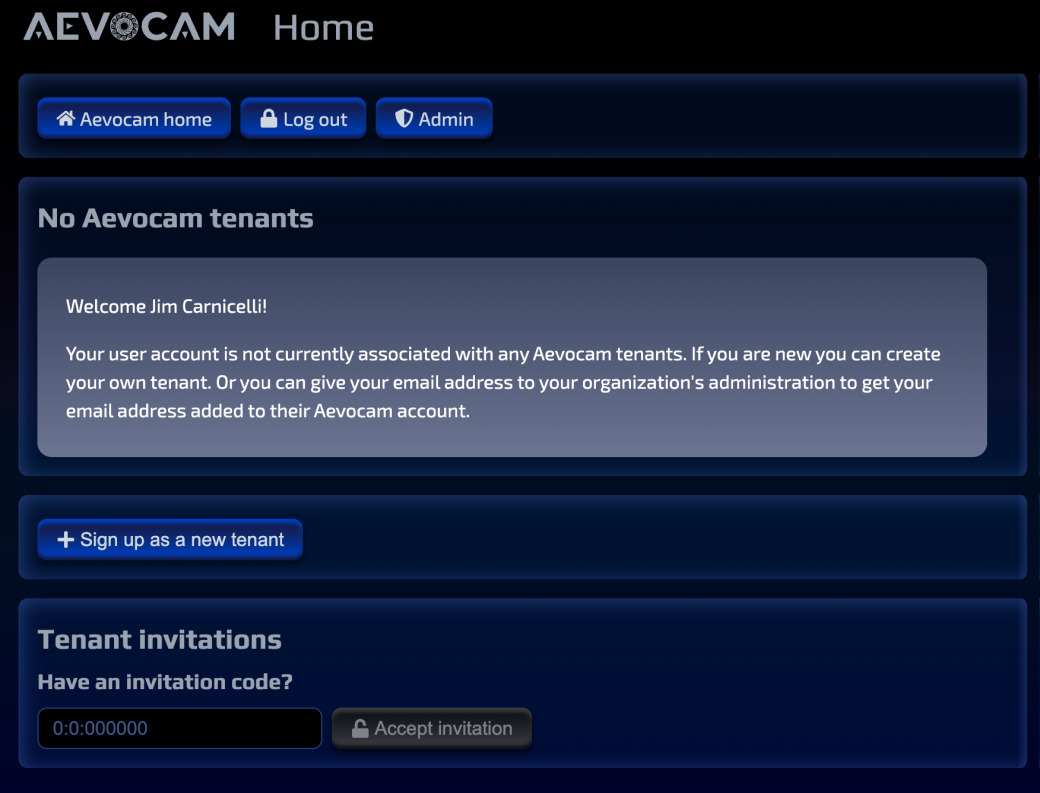
Your user account is not associated with any Aevocam tenants, but is specific to the user. You can sign up as a new tenant, and then invite others to join your tenant.
Think of a tenant as a group/organization/client or a business renting a commercial office space.
Aevocam Membership Invitations Page
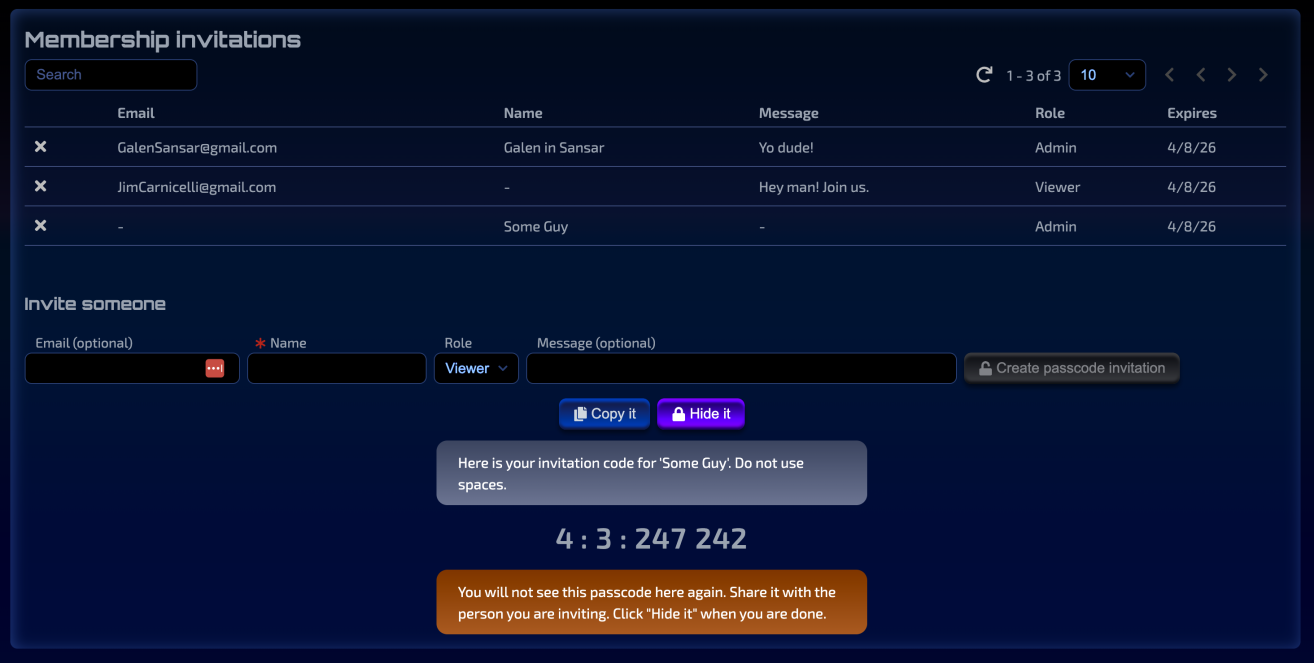
This page gives you a snapshot of the tenant invitations, the status (and expiration dates) of those invitations, plus how you can define the roles of your invitees.
As a tenant owner (or administrator), you can create two kinds of invitations: email-based or passcode-based (if you know the person's email address, you can just create an invitation with that person's email address. They'll see it on the "home launch" page where they can see all the tenants for which they belong.
If you don't know their email address, then you can generate an invitation code (you'd need to deliver it to them somehow). But then, they can enter it on that home launch page to accept it.
Here's what the membership invitations page looks like.
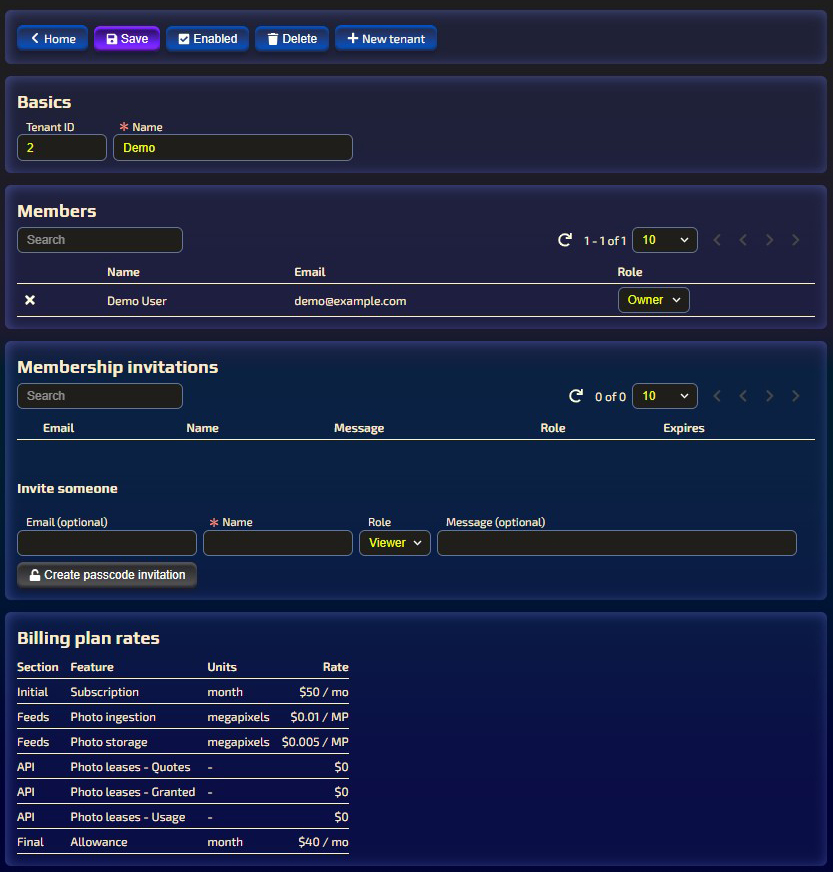
Aevocam Tenant Settings Page
The tenant settings page shows you members (and their roles), membership invitations, and billing plan rates.